For as long as I can remember I've been telling anyone who will listen to me: "If I ever win the lottery, I'm buyin' a blueberry farm!"
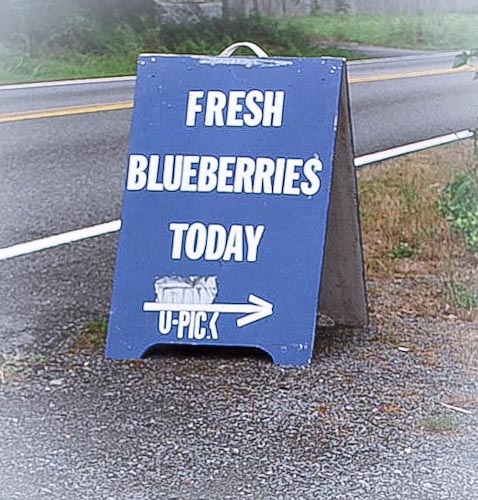
I'm positive I'd want to spend my pay-dirt on a farm, and it seems to me that blueberries might just be the perfect thing to grow. Keep in mind, I've never really spent much time growing blueberries, other than having 5 or 6 blueberry bushes in my yard, but I'm pretty sure those plump purple-blue orbs are the lowest maintenance crop growing in my garden. They have very few insect or disease problems, and yet they yield a satisfying crop of sweet juicy berries, year after year.
This is coming from a girl who grew up in Eastern Washington, where most fruit grows on trees that have to be pruned, their blossoms have to be thinned, and their heavy branches eventually need to be propped. There's the worry of a deep freeze in winter, too much rain in the spring, and fruit-splitting hailstorms in summer. Then comes harvest, which means climbing ladders and dealing with heavy bags of peaches, apples or other tree fruit around your neck.
Not so with blueberries.
With blueberries, things are quite a bit simpler.

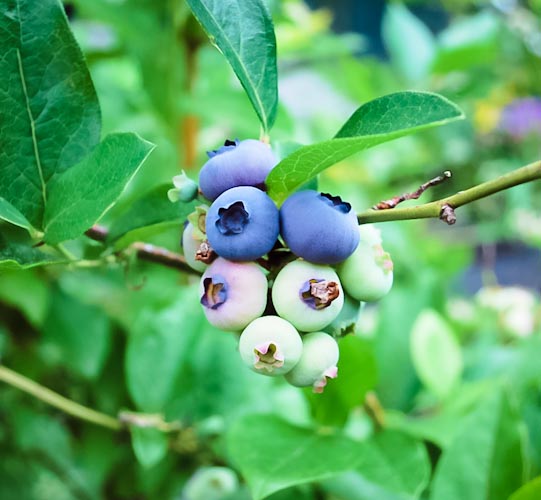
Give me blueberries any day. Their foliage is stunning in the fall, as their leaves turn a rusty red color. Their pretty white blossoms in spring help to welcome honeybees to my garden and a branch of those blossoms will look lovely in just about any flower arrangement. Around the Fourth of July the berries begin to turn blue, and the possibilities for preserving them are endless.
Blueberries can be the star of the show when turned into jams & jellies, but their flavor also plays well with others like citrus, herbs and/or spices, or even liqueurs. Make blueberry syrup for pancakes & waffles and your breakfast will never be boring. Make a zesty blueberry chutney for roast chicken sandwiches, even kicking the flavors up a bit with the addition of chile peppers.
Some pointers for keeping your blueberries at their best:
- The dusty white bloom on the their skin is the blueberry's natural protection against the sun and is a sign of freshness, so don't wash it off until the last minute.
- If you don't have time to preserve your blueberries while they're fresh, consider dehydrating them or freezing them; you'll achieve great results with either method.
- Never wash blueberries before freezing them though; it tends to make the skins hard. Just spread them out on a cookie sheet until they're frozen, then scoop them into a zippered plastic bag or jars.
- Never wash them and put them back in the refrigerator either, or they might deteriorate and get mushy or moldy.
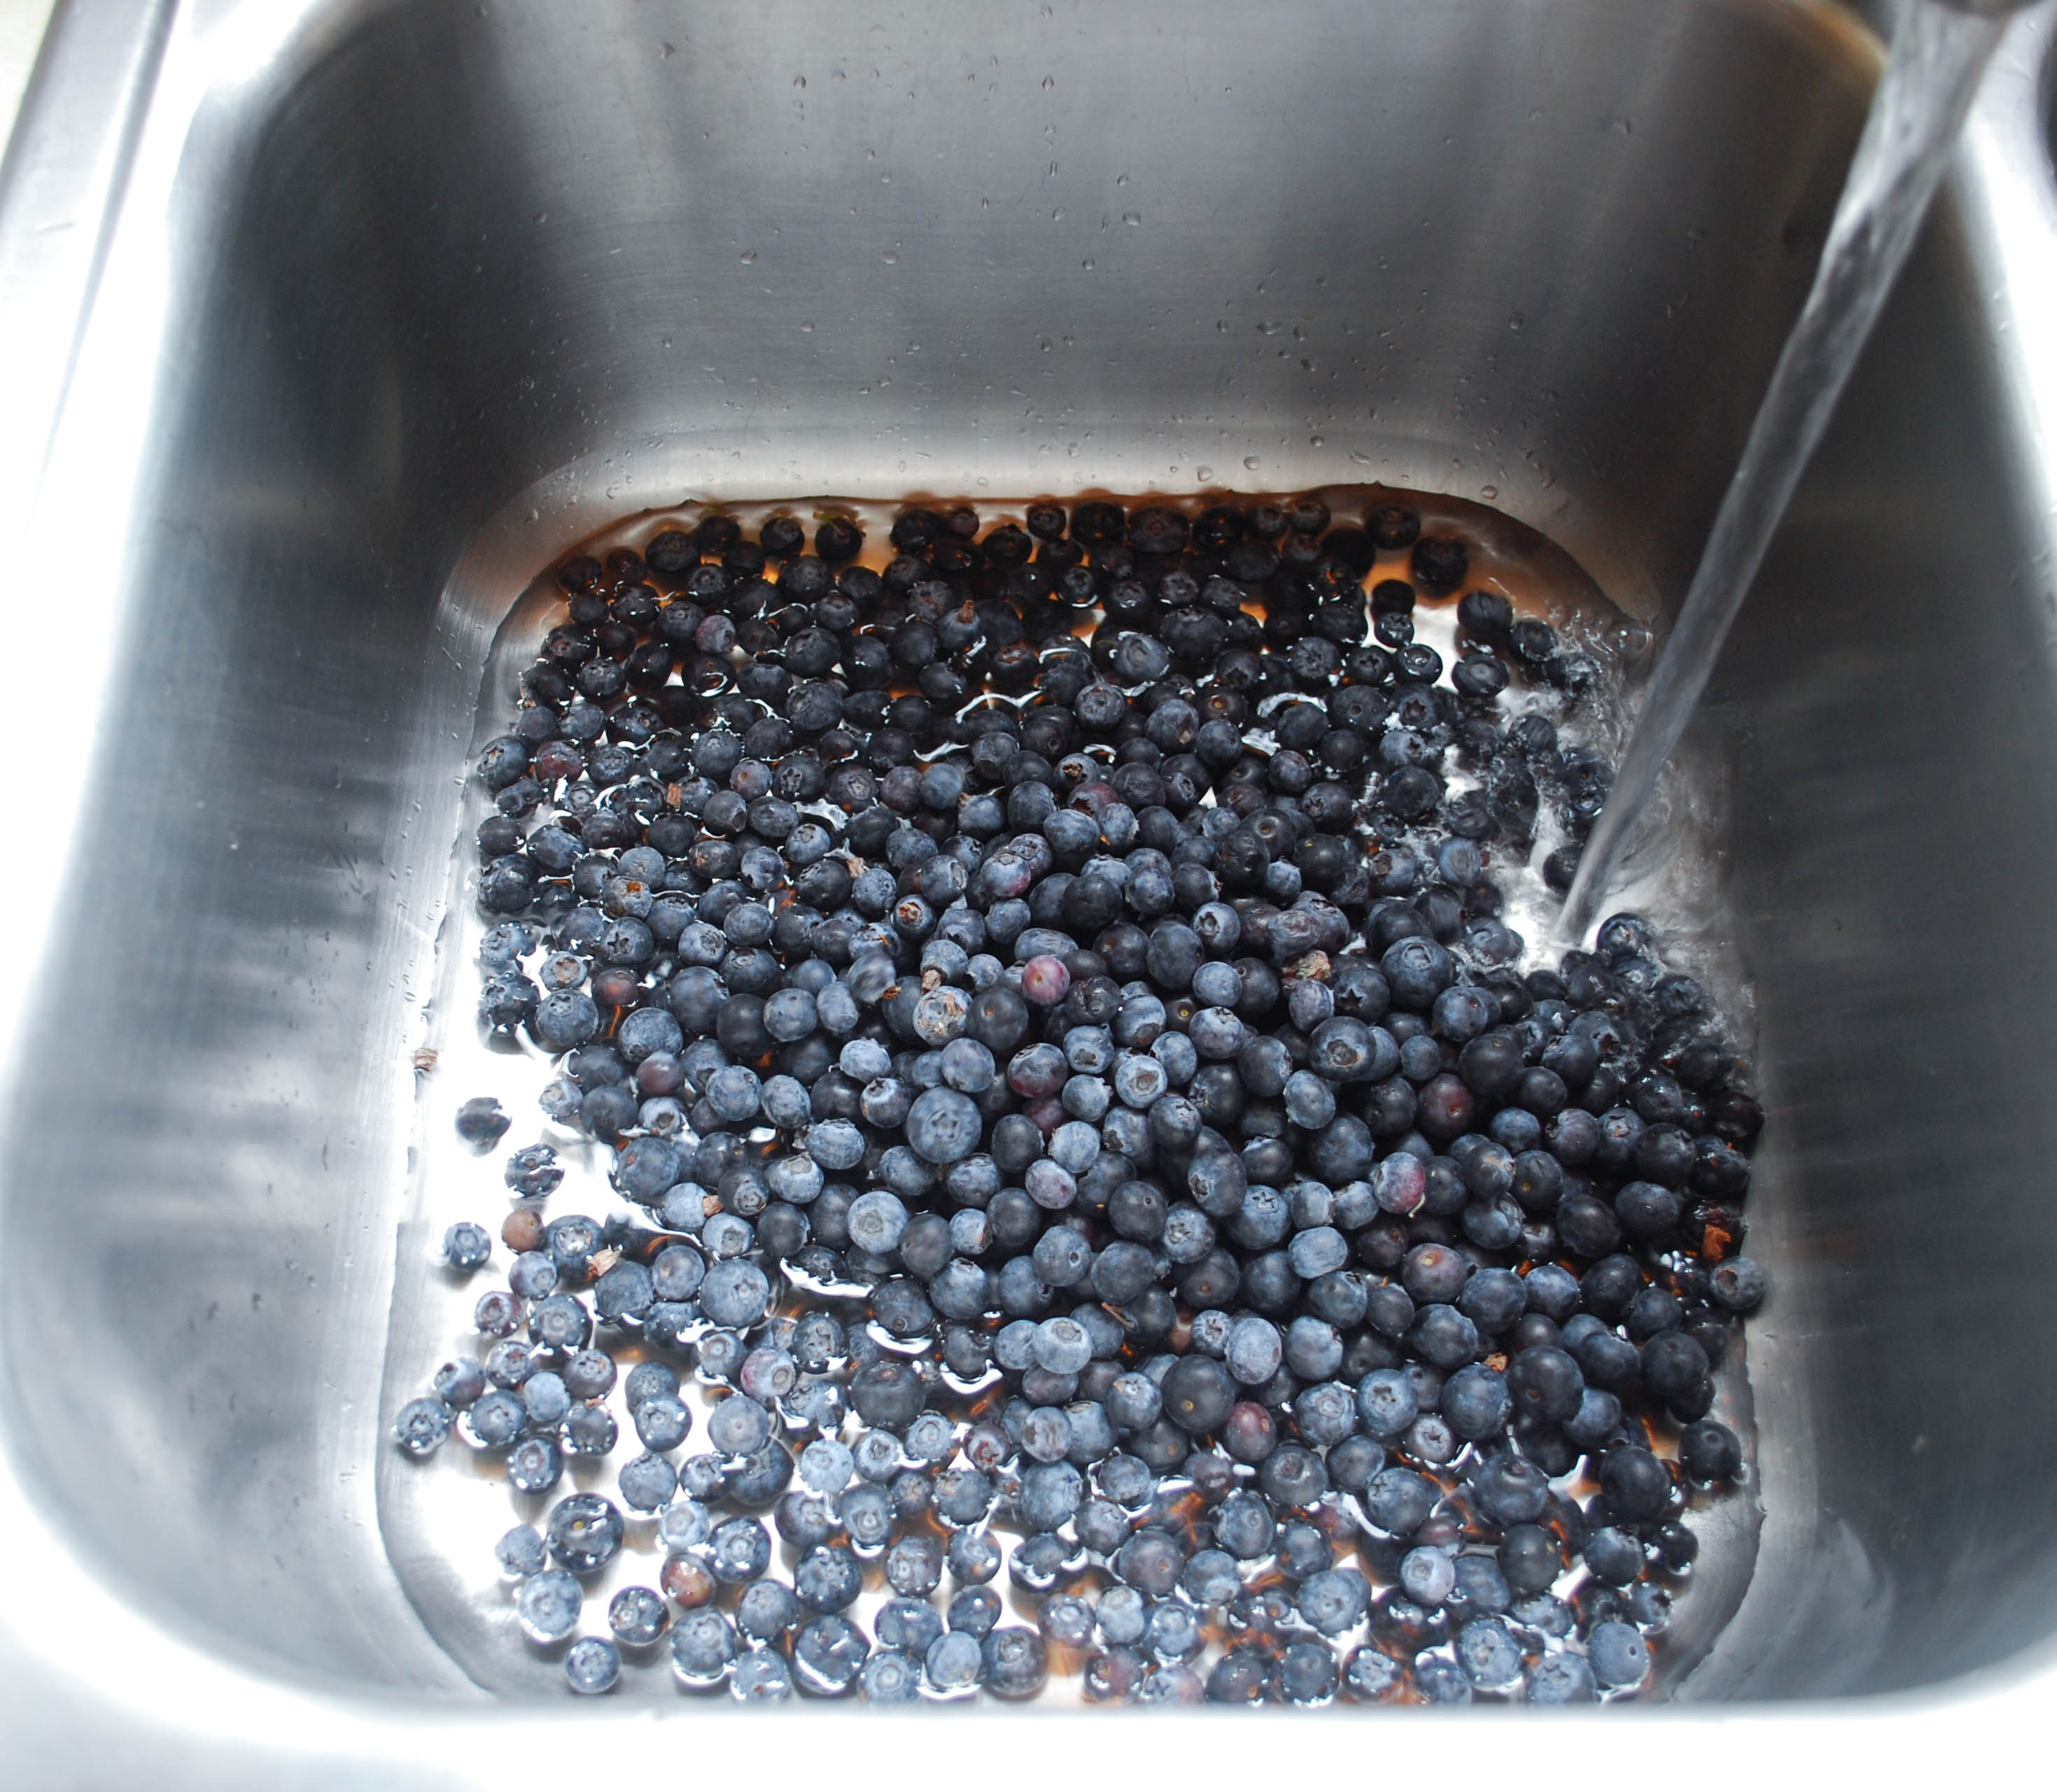
Speaking of washing, it's about the most strenuous part of prepping blueberries for your recipes. Not too many fruits can be used without peeling, pitting, coring or seeding. So give them a quick soak in a sinkful of fresh cold water, drain them, and they're ready to use in recipes.
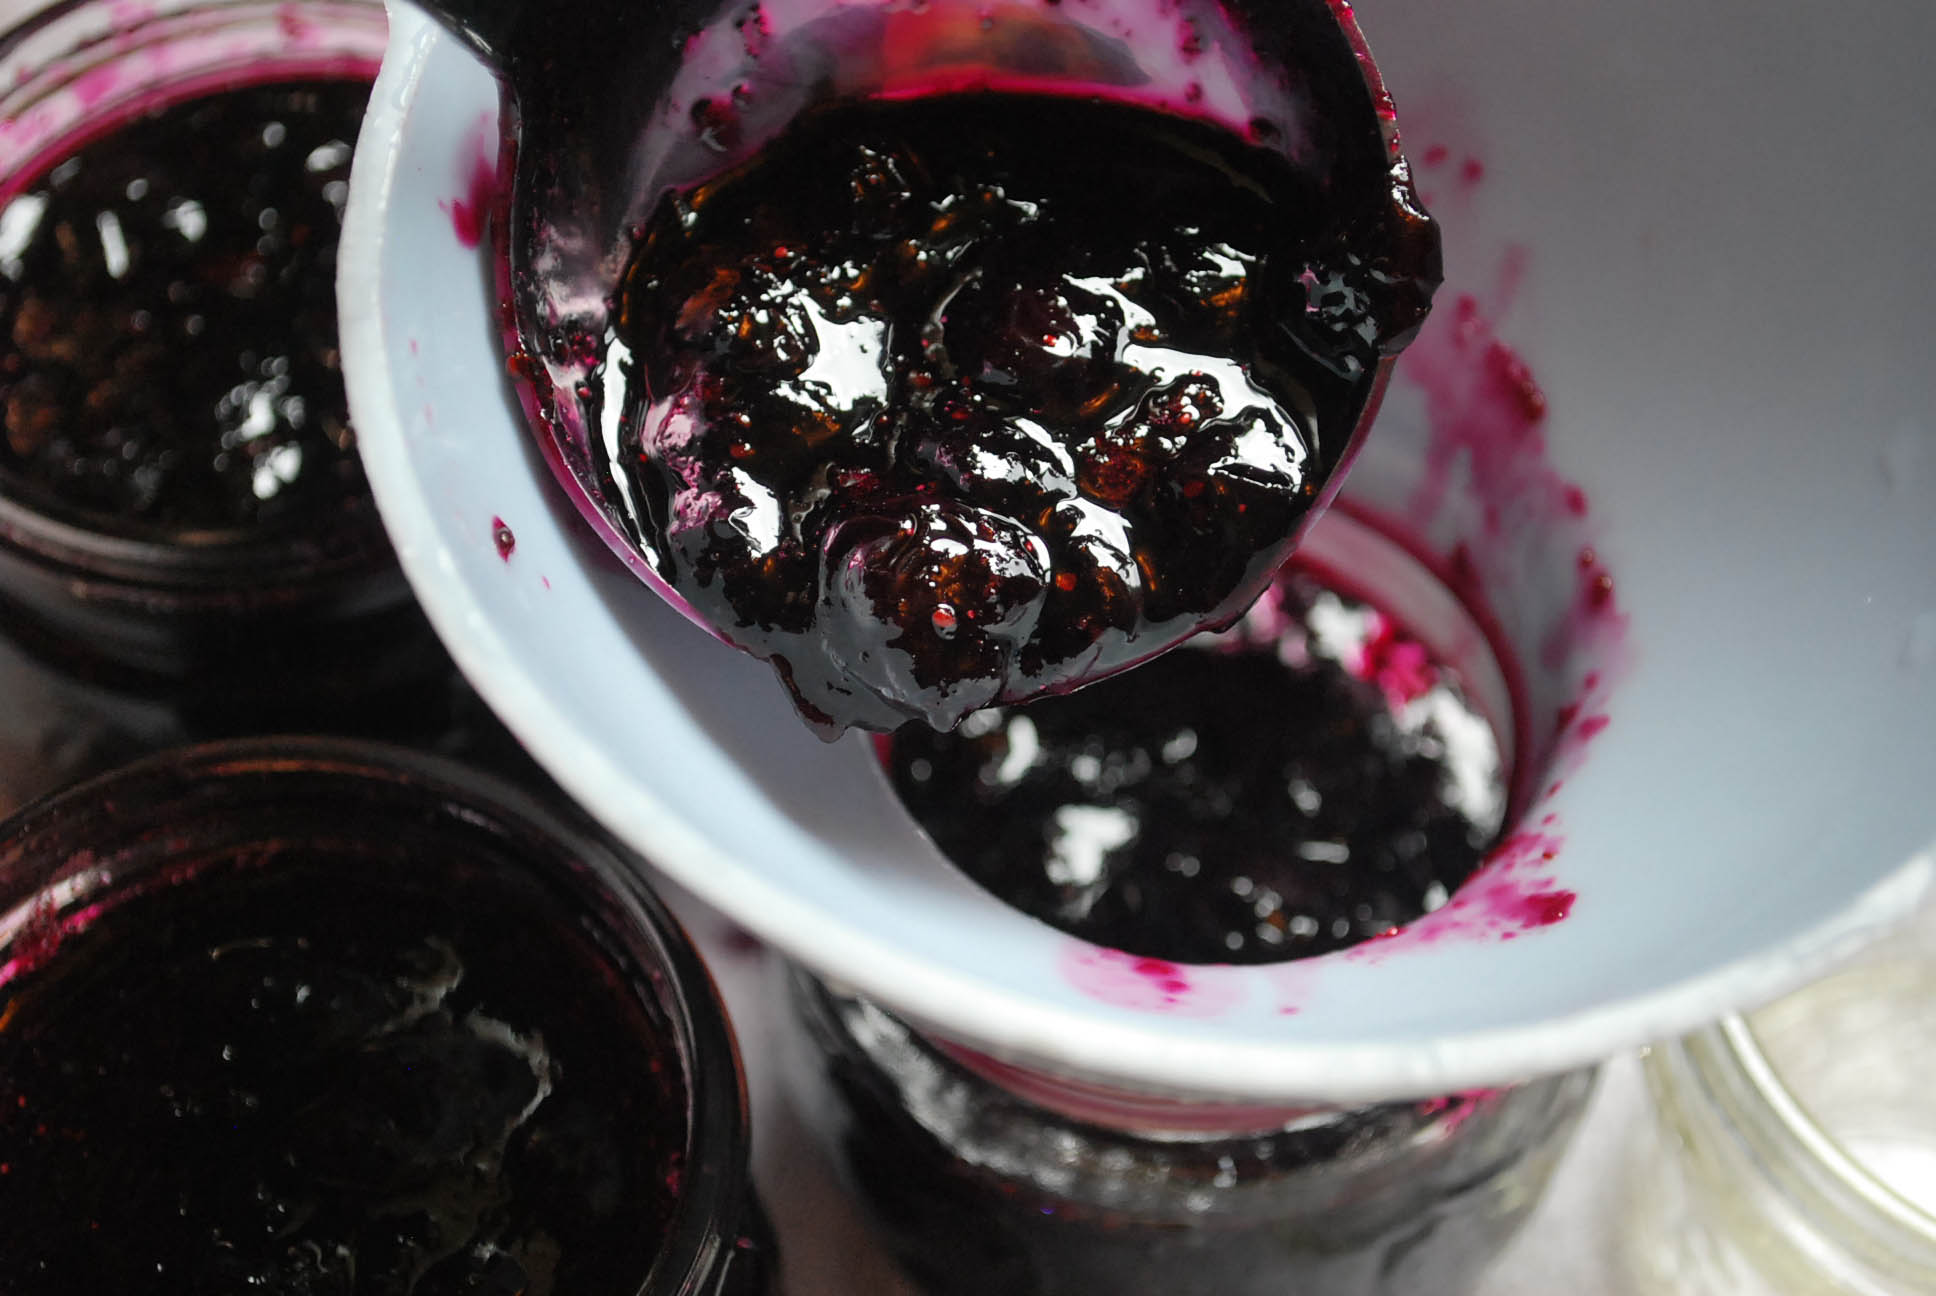
So maybe now you know why I want to win the lottery. Because blueberries are hands-down one of my best bets for preserving. They say "there's no such thing as a sure thing". I beg to differ and here's my proof:
Perfect Blueberry Preserves
Makes ~6 half pints
- 9 cups fresh blueberries
- 6 cups white sugar
- 3 tablespoons bottled or fresh lemon juice
- Helpful tip: 1 pint of blueberries = 3/4 pound = 2-1/2 cups
Note: Prepare canning jars before starting your preserving project.
1.) Rinse and drain blueberries.
2.) Place blueberries in a large heavy-bottomed non-reactive pan (don't use aluminum or cast iron) and crush some of the berries with a potato masher. Add sugar and lemon juice to the blueberries and stir well.
3.) Bring blueberry mixture to a boil over medium heat, stirring to dissolve the sugar. Once sugar is dissolved, turn heat up and boil rapidly, stirring the mixture occasionally to prevent the fruit from sticking to the bottom of the pan. Stir the fruit gently while cooking to reduce foaming.
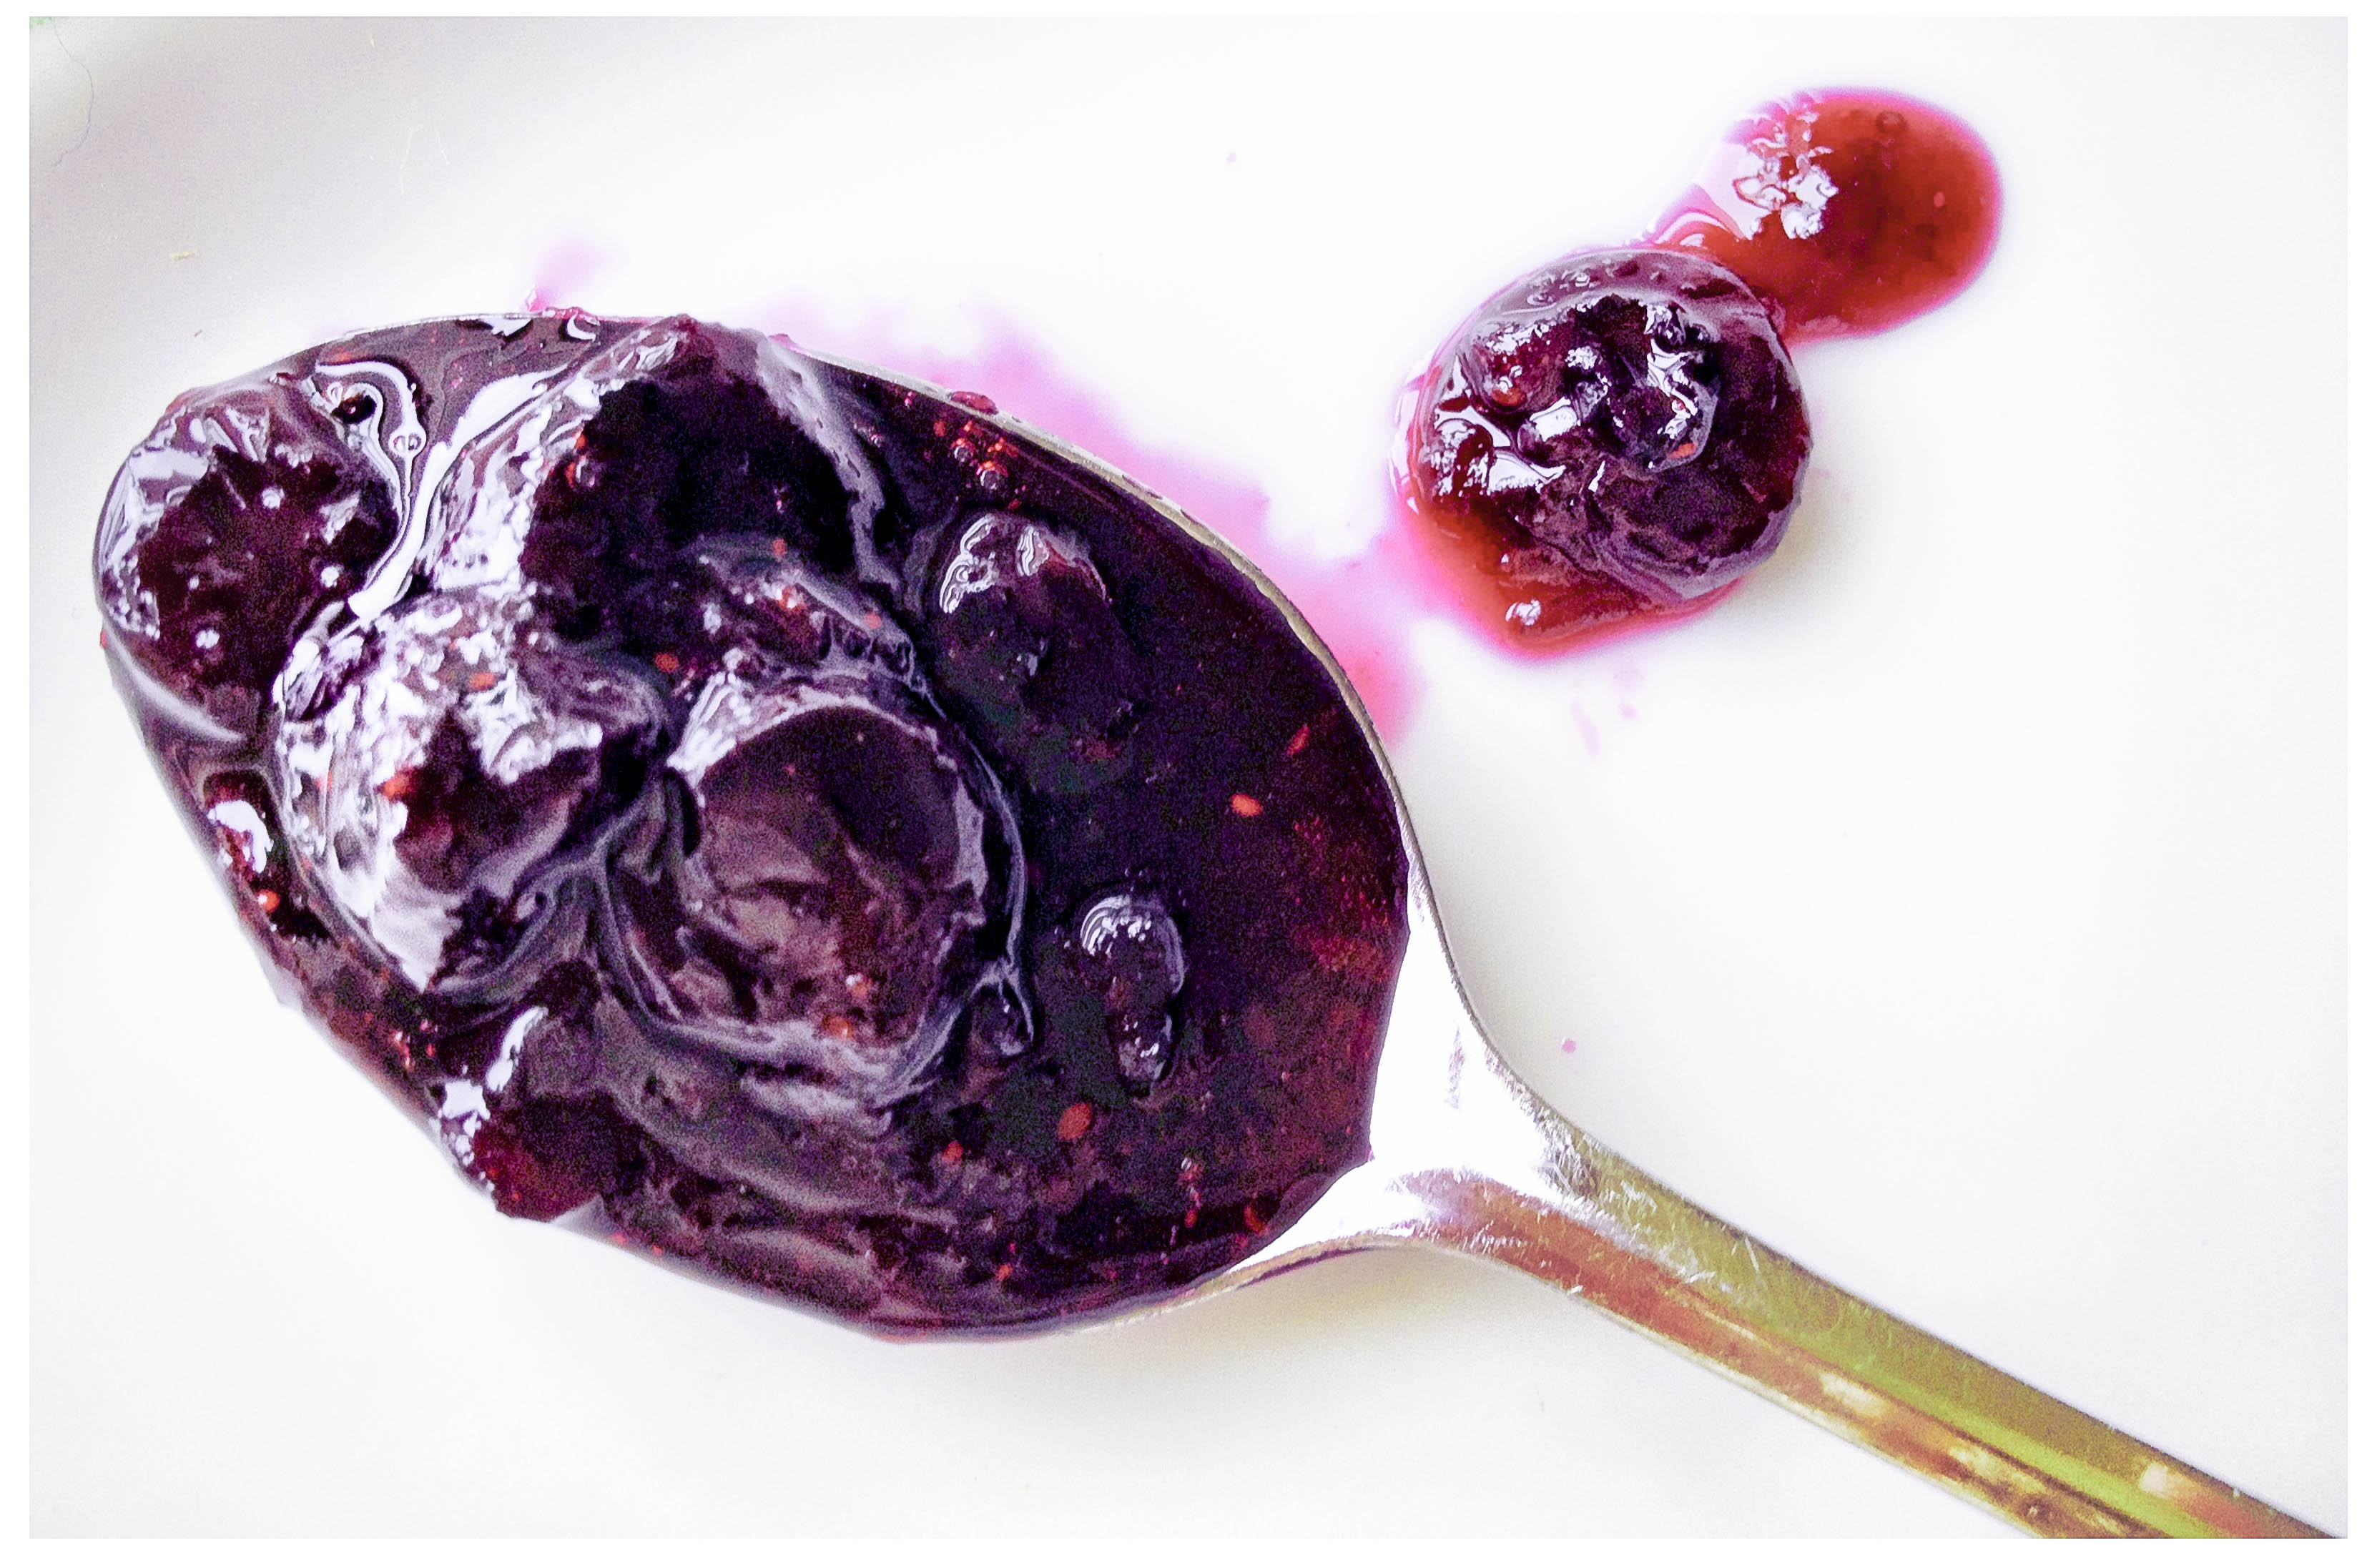
4.) After about 10 minutes the fruit should be quite soft and you can periodically mash the berries with a potato masher if you want a smoother jam. I skip any additional mashing because I like to see some whole blueberries in my preserves. Once you mash the mixture, it technically becomes "jam".
5.) Boil for 5-15 more minutes, stirring, or until it reaches 220 degrees on a candy thermometer, which is the gelling point. Keep in mind the preserves will continue to set up later, after they cool. Before ladling into jars, skim any foam if desired. It's not harmful, but it will affect the appearance of your finished product.
6.) Ladle preserves into hot jars, leaving 1/4" headspace.
7.) Wipe rims spotlessly clean with a damp paper towel and place a sealing lid on top of your jar. Next, screw a band onto the jar until it's "finger-tight".
8.) Process for 10* minutes in a Boiling Water Bath.
9.) Turn kettle off and let jars rest in kettle for 5 more minutes.
10.) Remove jars carefully from kettle using jar-lifter tongs, and gently set aside to cool on the counter, on a kitchen towel, in a draft-free place.
11.) Let rest for 24 hours, then check jars for a proper seal** before storing.
12.) If jars lid seals it will easily keep for one year in a cool, dark place. If jar doesn't seal, place it in your refrigerator and eat within 3 months, and within one month after opening.
*0-1000 ft: process 10 min. / 1,001-6,000 ft: process 15 min. / Above 6,000 ft: process 20 min.
**Check lids for a proper seal by pressing down on the middle of the lid with a finger or thumb. If the lid stays down, it is sealed and will easily keep for up to one year in a cool dark place. If the lid springs up when you release your finger, the lid is not properly sealed.