


Best Way To Store Your Sealed Canning Jars
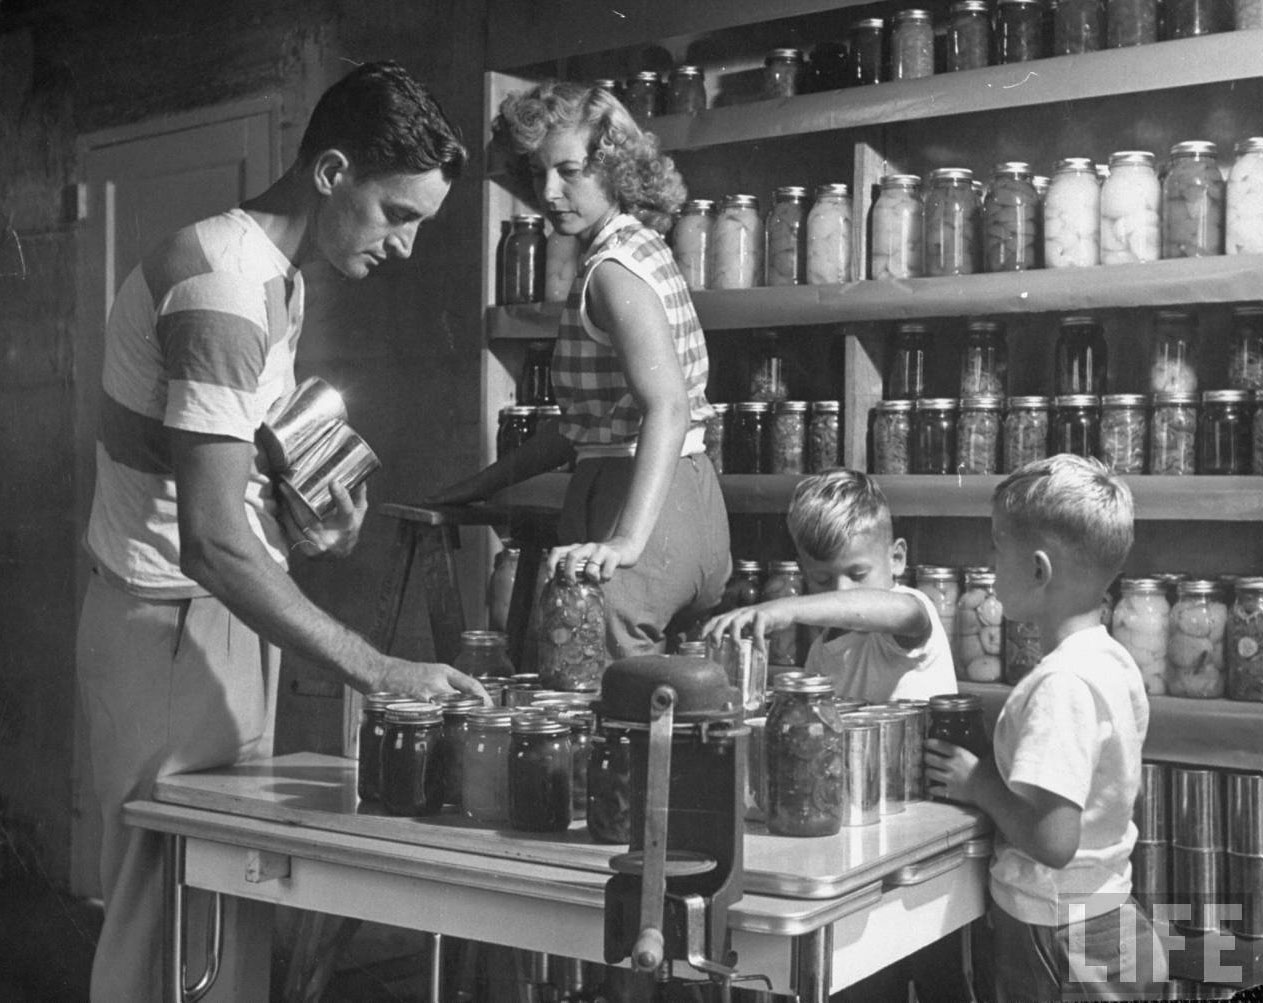
First of all, let's hope you're lucky enough to have a special room or closet that is clean, cool, dark and dry. Maybe you even have a temperature-controlled zombie-proof walk-in pantry and a perfectly-cooperative LIFE Magazine-type family to help you put everything up on earthquake-proof shelves while sporting your freshly-coiffed hair, but I think I might be getting carried away with hyphens and hyperbole now, so let's cut to the chase...
1.) Always allow your newly-sealed jars to rest undisturbed on the counter for one entire day. Keep in mind that sometimes it takes a bit of time for jars to seal, but 24 hours should be ample.
2.) Before you move your jars to a cupboard or pantry, you need to remove rings and double check that the seal is good. This would be a good time to wash any residue that may have seeped out during processing.
The folks in the photo above left their rings, also called "bands", on their jars. Don't do that! It can trap residue around the threads of the jar, encouraging mold to grow, and besides the cleanliness issue, it is difficult to test the seals properly with the rings still on your jars. In rare instances (and if the ambient temperature gets hot enough) jars have been known to lose their seal -- then reseal -- if rings are left in place. The period of time between the jar unsealing and resealing can provide a window of opportunity for dangerous bacteria to grow.
3.) After you have cleaned up the jars, lift each jar one at a time by the edges of their sealing lids. The seal should support the weight of the jar. Another system is to turn the jar upside down, but you'll want to do it over a bowl in case the weak seal breaks and the lid falls off. If this happens, you'll want to use the contents of the jar within a week.
4.) Next we'll talk about my pet peeve:
People neglecting to label their jars.
It makes me crazy.
You think you'll remember what's in each jar and maybe even the month you made it, but most likely you won't. I must admit, I'm guilty. I have "Been there, done that" when it comes to not labeling something but I've learned that lesson and now I'm a labeling queen.
It's just dumb not take a few minutes to write the date and what-it-is on your jars. What's really neat is to take it one step farther. Give your jar it's own product ID code, and keep a corresponding journal with your preserving information in it. Keep track of what recipe you used, what kind of fruit you used (example: "organic Moorpark apricots) and maybe even how much you paid for them. It's really fun to eat Peach-Bourbon Preserves in February and say:
"Remember when we stopped at that little fruit stand on Blewett Pass and got that great deal on Sweet Henry peaches?"
"Remember how much Makers Mark Bourbon ended up in your glass, and not in the jars?"
"Remember how hungover you were the next day?"
Well, that's not so fun, but I digress.
At the very least, write the date and contents on every single jar. (Wait until the jars are sealed, clean and ready to put into storage for this next step.) Just write on the flat metal lid with a Sharpie or grease pencil, or jot everything down on plain labels and stick 'em on the top or sides, or even print out your own cute customized Avery labels, but please...just do something, for goodness' sake!
5.) Rotate your stock once in awhile, like they do at the grocery store. Use the items lowest and closest to you first, and add the new items to the top shelf, or the back of the cupboard. You'll find a system that works best for you, though it might take a little thought at first to organize it and a little time down the road to rotate the oldest items into the "use me next" position.
6.) Store foods in the proper place. According to the USDA, here are some things to consider when deciding where to store your jars.
The best temperature is between 50-70 degrees F.
Do not store jars above 95°F or near hot pipes, a range, a furnace, under a sink, in an uninsulated attic, or in direct sunlight. Under these conditions, food will lose quality in a few weeks or months and may spoil. Dampness may corrode metal lids, break seals, and allow recontamination and spoilage.
Accidental freezing of canned foods will not cause spoilage unless jars become unsealed and recontaminated. However, freezing and thawing may soften food. Worst case scenario, if jars must be stored where they may freeze, wrap them in newspapers, place them in heavy cartons, and cover with more newspapers and blankets.
~~~~~~
Hopefully this information is helpful to you.
After all, you've spent time & money in an effort to preserve healthy food in jars, and I'm quite sure those same jars deserve to be properly labeled and stored until it is their time to shine again on your dining room table.
 Brook Hurst Stephens