


Luscious easy-to-make preserves using dried apricots!
It's raining, it's pouring...it must be March in Seattle.
I've been making bacon, brining corned beef and pickling vegetables, but what I haven't done lately is stir up a batch of sweet, flavorful lovely-to-look-at preserves or conserves, like Dried Apricot~Vanilla Bean Preserves.
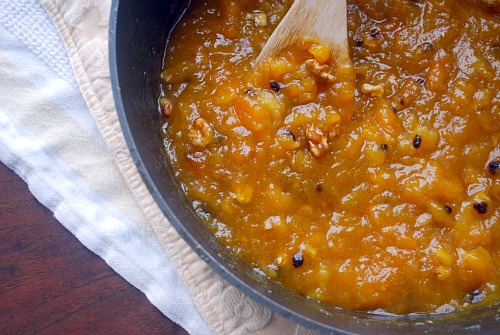
Shown here: Dried Apricot~Vanilla Conserve with Walnuts & Currants
What could be easier than making preserves and conserves* with dried apricots? They're already pitted. No need to peel. All you need to do to prep the apricots before rehydrating them is to cut each one into quarters, using either kitchen shears, or a heavy chef knife. And if you have an immersion blender, you don't even have to chop them up before soaking!
Place the dried apricots in a large bowl -- to allow for plumping -- and cover them with water, then set the bowl aside at room temperature for 24 hours.
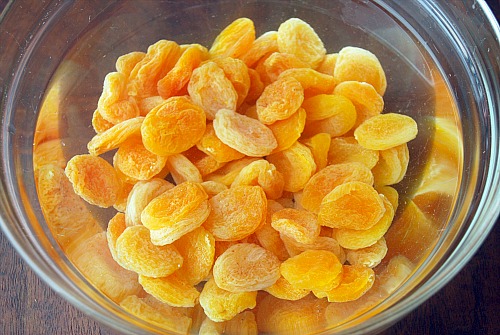
I did NOT chop mine first -- I plan to use the immersion blender to chop them after cooking.
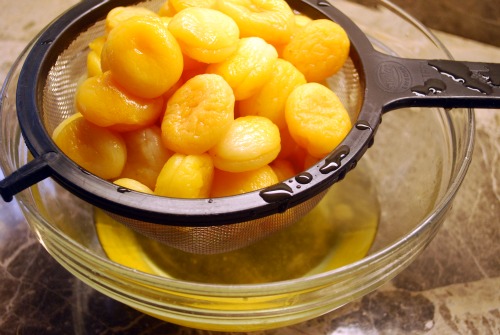
Drain the liquid, but SAVE it. You'll need to measure the soaking liquid before adding it back to the preserving pan with the 'cots.
 Dried apricots will plump up, doubling in size after soaking.
Place the rehydrated apricots into a heavy-bottomed pan, or preserving pan, and add the soaking water PLUS more water. (See recipe for ratios.)
Add fresh lemon zest & juice and, optionally, a vanilla bean**, and simmer for 30 minutes.
Remove vanilla bean and process whole apricots until desired consistency using the immersion blender.
Add sugar, and cook for another 10 minutes. At this point, if the preserves are nice & thick, you can ladle them into jars and process & seal or freeze them.
Or if you're like me, and you like nuts & fruit together, you might want to make a Dried Apricot~Vanilla Bean Conserve with Walnuts & Currants.
~~~~~~
I'm a lucky girl. My step-mom sent me 15 pounds of big healthy walnuts from their trees! I put my iPhone in the box, for scale.
 Yes, that's a photo of my Pugs on the iPhone, inspecting a box of kumquats on another day.
I added currants and chopped walnuts to my conserve. The fresh walnuts are a delightful addition, and I think the act of cracking walnuts is actually sort of meditative on a rainy Sunday.
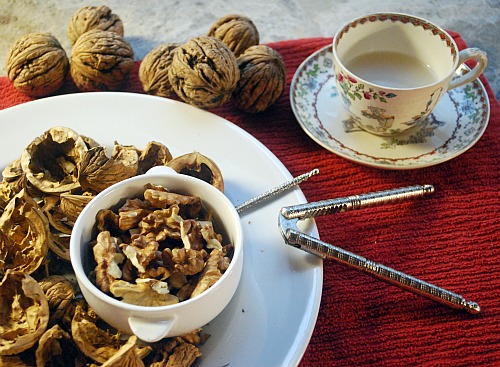
That's really all there is to making conserve. It's a pretty easy project. I started the overnight-soaking process on Saturday morning, so they would be ready to cook on Sunday. I cracked the walnuts and drank a nice cup of Earl Grey tea while the preserves were cooking.
I don't know about you, but I think making preserves is the perfect make-your-house-smell-great project for a lazy rainy Sunday!
One last note: if you want to make it a little boozy, you could even add a splash of Grand Marnier at this point too. I'm talking about the conserve, but I guess I could be talking about my tea. Or myself.
* Conserve: A conserve is usually a mixture of fruit, often with raisins and sometimes nuts, that is cooked until it becomes very thick and chunky.
**When you are finished using the vanilla bean for the recipe, you can use it again! Rinse it off, let it dry and put it in a big jar full of white sugar. The result? Within a few days you will have Vanilla Sugar, which is something you can buy already made, but why would you when it's so easy to make it yourself?
 Brook Hurst Stephens